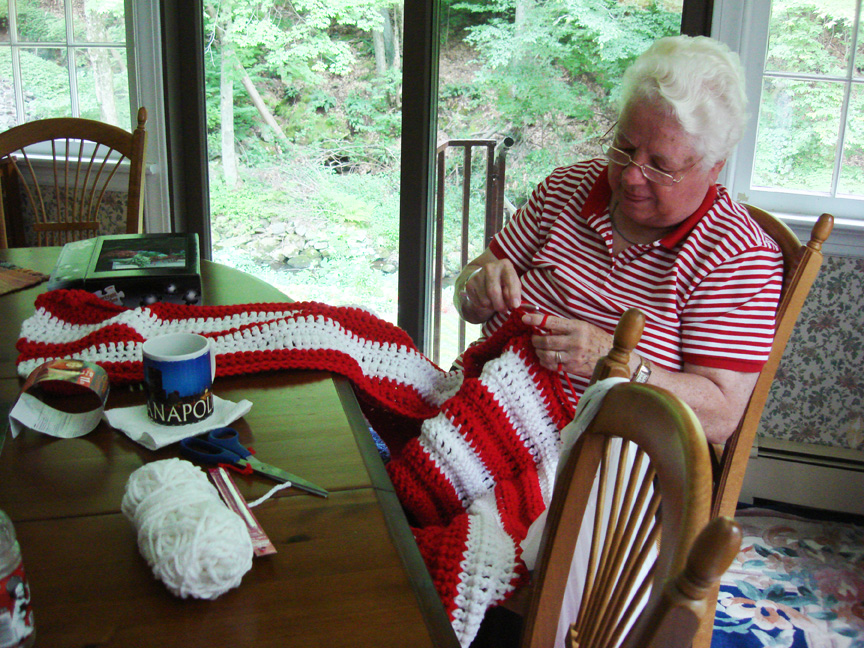
First, get a Grandma. Almost any Grandma will do, because even the most basic models come equipped with knitting and crocheting as standard functions, right? But make sure your Grandma is kind, patient, persistent, and game for a challenge!
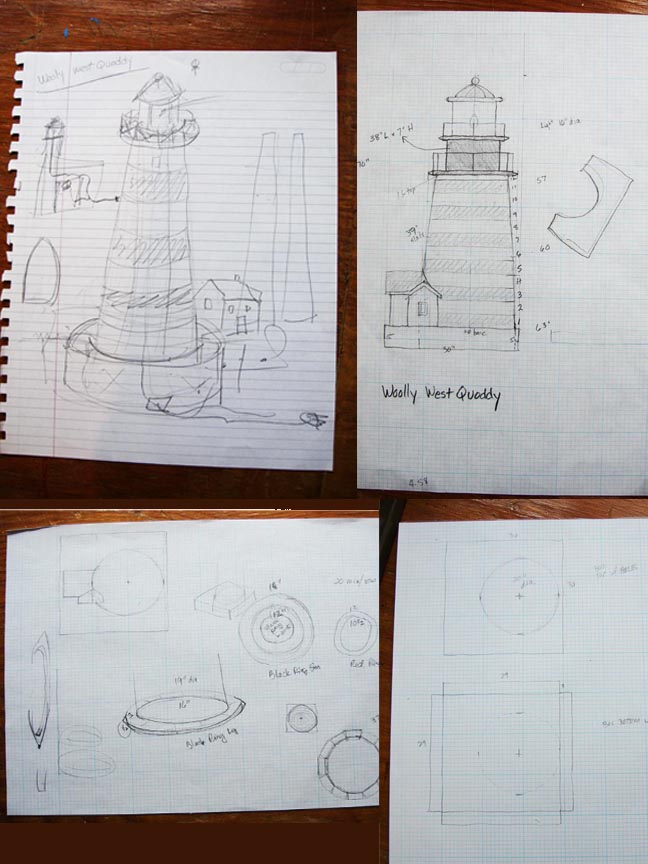
Step 2 is to choose a lighthouse that would look good done in wool. We chose the West Quoddy Head Lighthouse, in Lubec, Maine because those red and white stripes were just asking to be crocheted. We did a quick sketch and worked the measurements out on graph paper. By the end of the day we were back from the fabric store with a bag full of fat yarn and a fat crochet hook. We went with fat in order to churn out the square acreage more quickly.
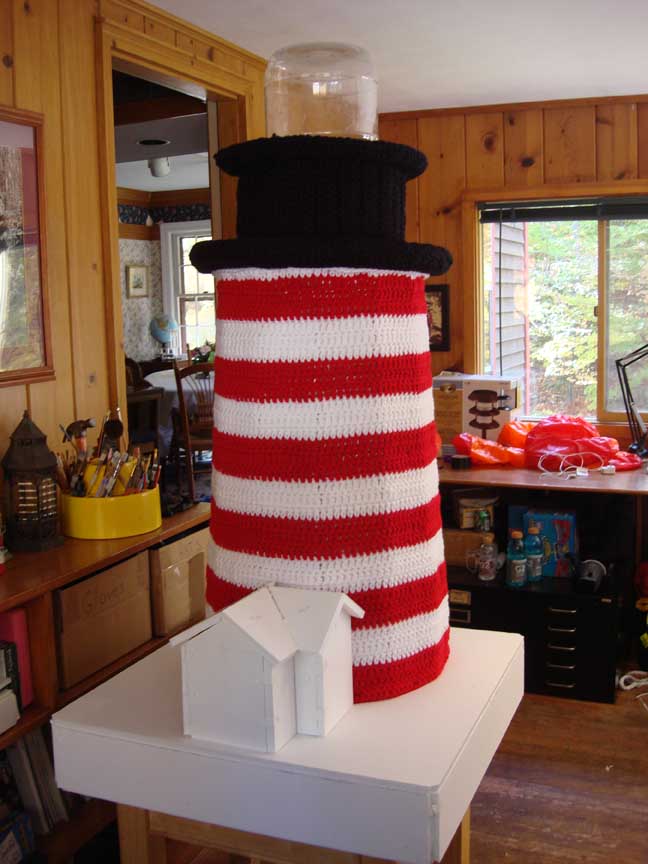
While Grandma got going on the lighthouse’s skin, I started on the bones. Again armed with my trusty #11 X-acto blades and cork-backed metal ruler, I cut the base, tower, upper platforms, inner light box, and little house pieces out of half-inch foamcore.

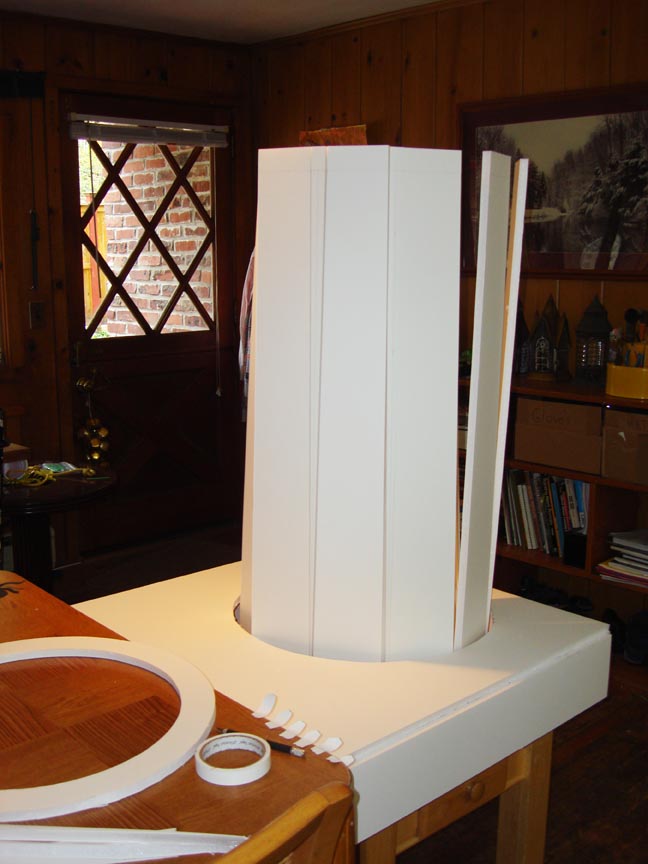
To look right, the tower needed to be slightly broader at the base than at the top. So I measured and cut one large piece of foam core with narrow v-shaped slivers running top to bottom, cut out every few inches, leaving it all attached at the bottom. I had the tower implanted into the base which made the whole thing sturdy. Then I hot-glued all the seams, keeping in mind where I might need access later.
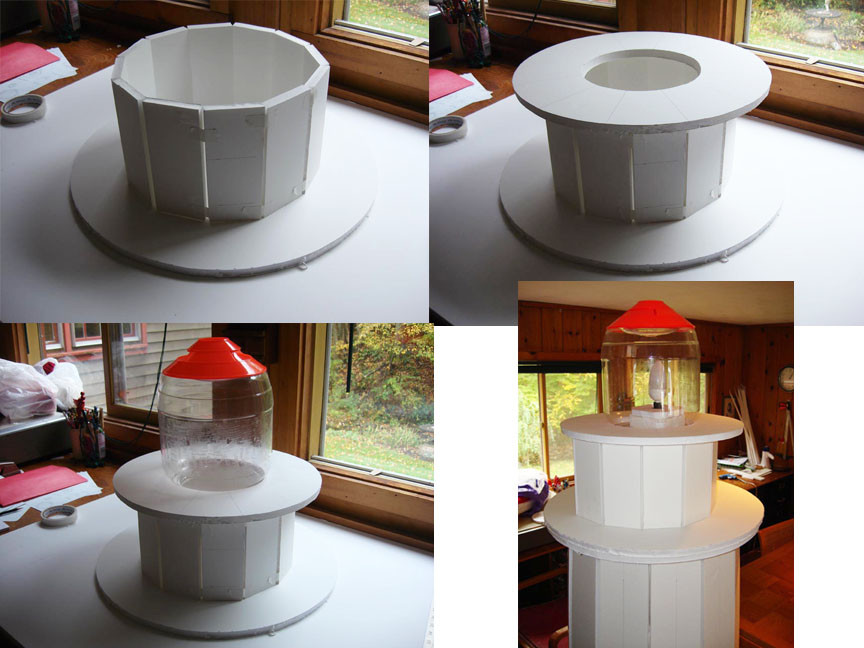
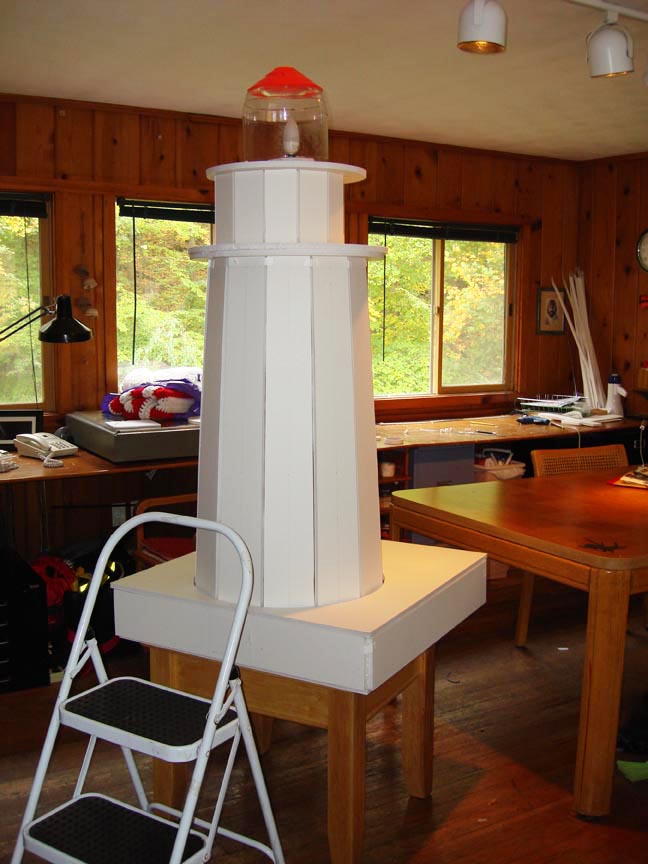
Next came the top part, or platforms with railing. The cylinder was made out of one rectangular piece, with vertical scores all around that nicely formed a cylinder when bent. Note that the lower platform is actually two layers–the first has only a 1″ hole in the center, for the electrical cord to go through, and forms the floor for the inner light box to sit on. The second is only a ring, about 2″ wide. Here’s the clever part: The ring, only 1/2″ deep, fits over the top of the main tower, both holding it together and allowing the lighthouse to come apart in two sections for transporting. Both layers are together skinned with black crocheting, and hot glued to the rest of the top. But the whole section nicely lifts off and on.
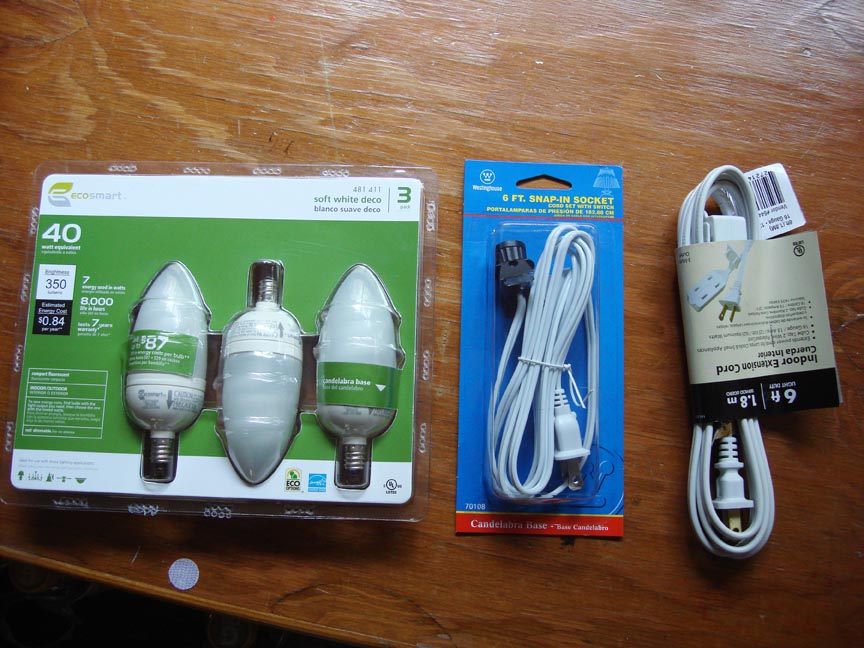
The Inner Light Box: Here are the things to get at the hardware store. The 40-watt compact flourescent bulbs are perfect, as they look nice and give off very little heat.
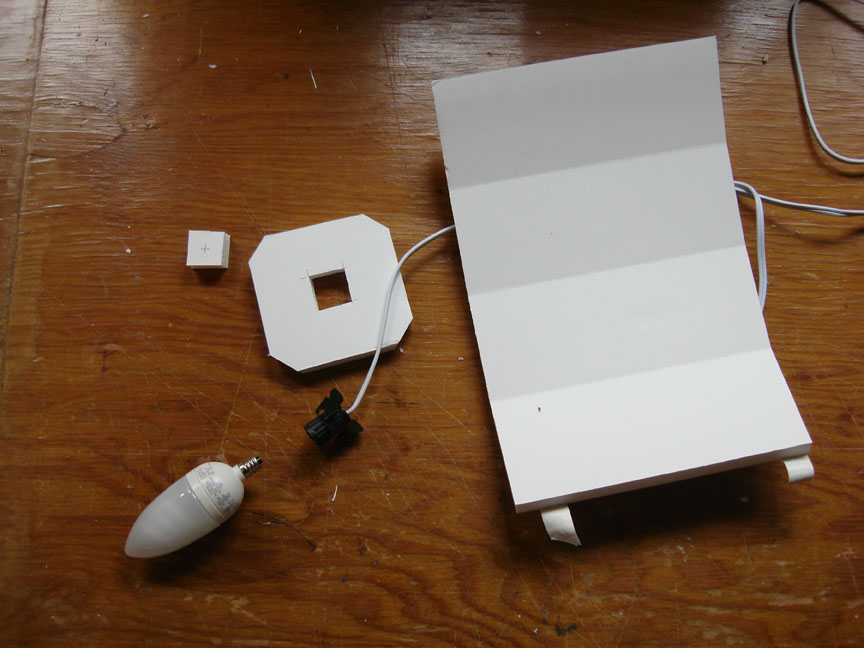
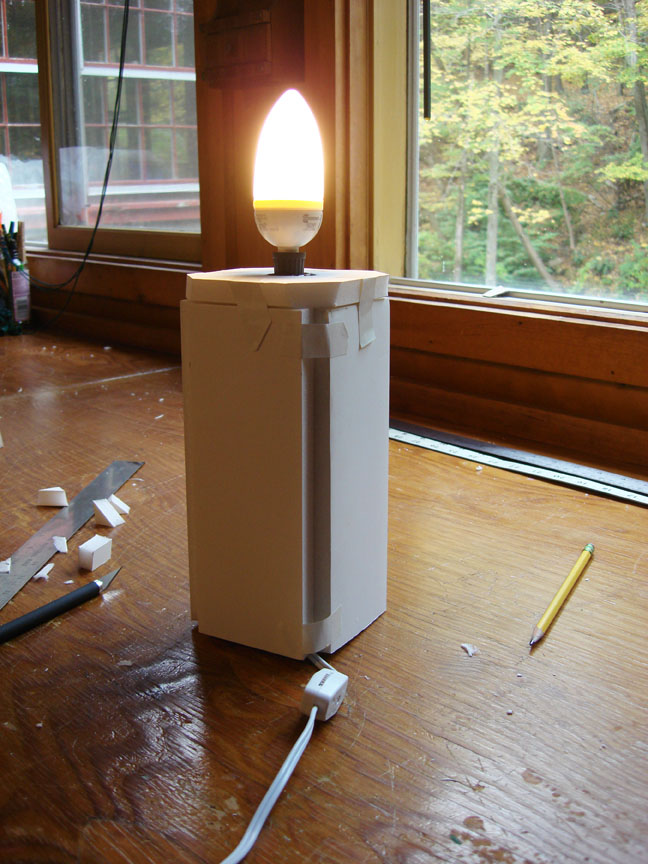
Here’s a simple foamcore box to hold the light at just the right height. You can hot-glue the permanent parts, and just tape the parts you might need access to later.
Ta-daaaa!
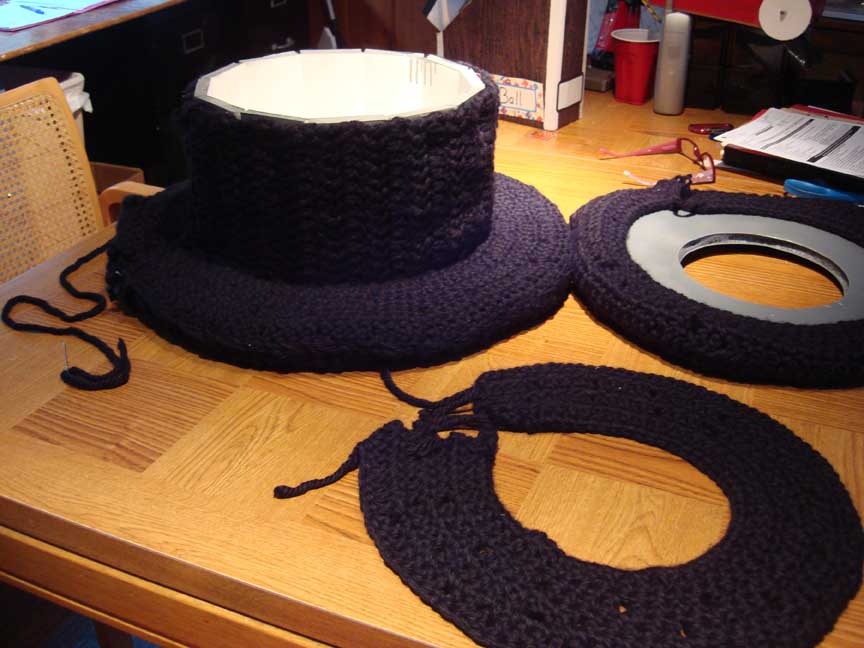
The Black Rings: So here’s the part where Grandma worked her magic. I gave her measurements and dimensions, and she came back with perfectly fitting little sweaters for all the parts. For the cylinder, it was a simple rectangle to crochet, but the rings, well, only she can explain: “Quick and easy,” she says, “The red cap was a single crochet stitch just done in circles. I used a treble stitch on everything else.” Got that, crocheters?
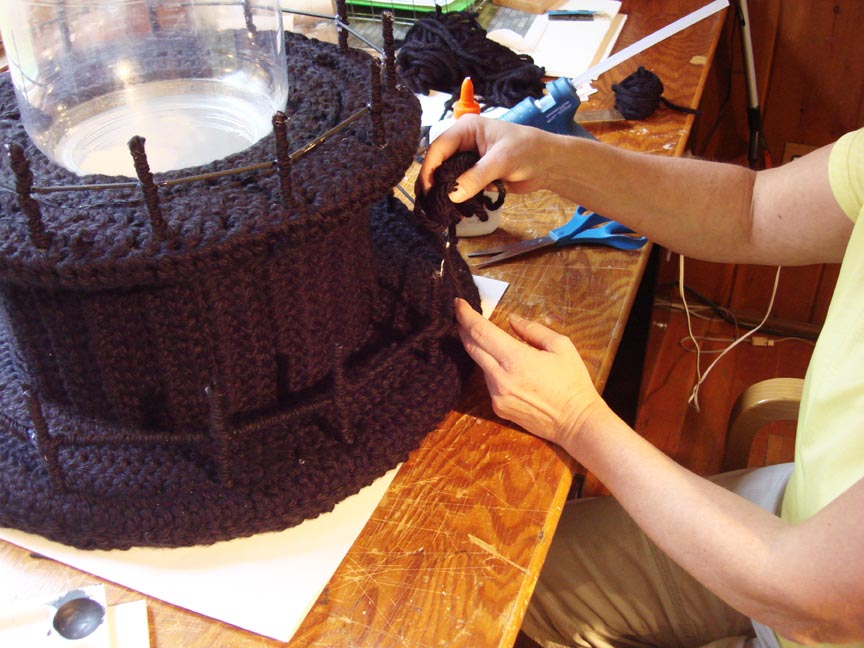
The Railing was made by cutting short lengths of dowel rod into pieces, hot-gluing them together while poking their stems into the foam core. Once in place, I simply wrapped black yard around the dowels, spot-gluing as I went.
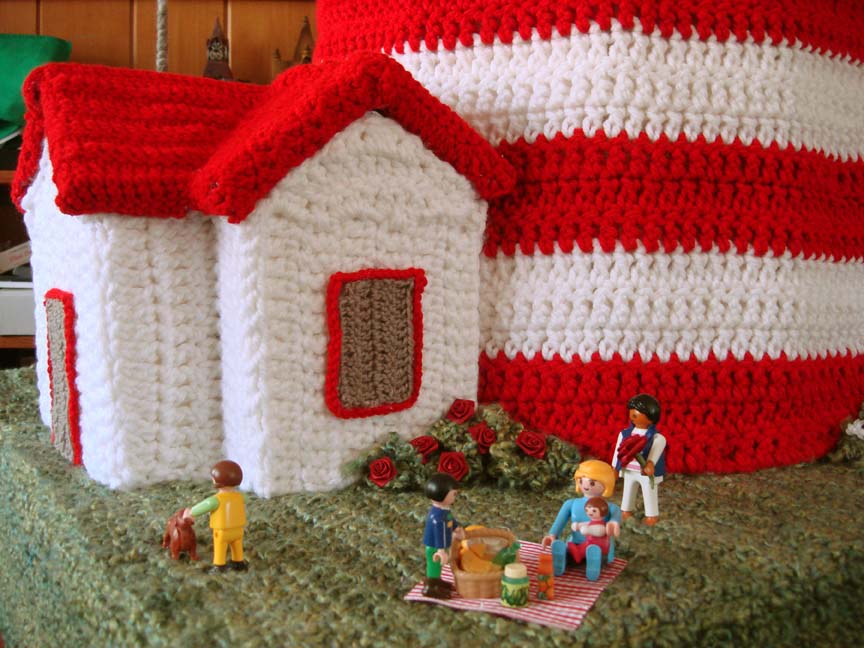
The Fun is in the Details: With the main body done, we began to work on the details. See the little foamcore house? I hot-glued the roof panels into one piece, and the walls into a second piece. Then, because she had these unusual shapes to work with, it was easier to mail the roof and walls to Grandma so she would have it in front of her. Amazingly, she crocheted the red roof sweater all in one piece, and the white wall sweater all in one piece as well.
We added little grey windows and red trim, and covered the base with grass-colored pieces. The bushes were inspired by scraps of green yarn, wadded up and hot glued here and there. We added little fabric flowers bought at the craft store, and a happy family from bits of Playmobil found in our sofa cushions.
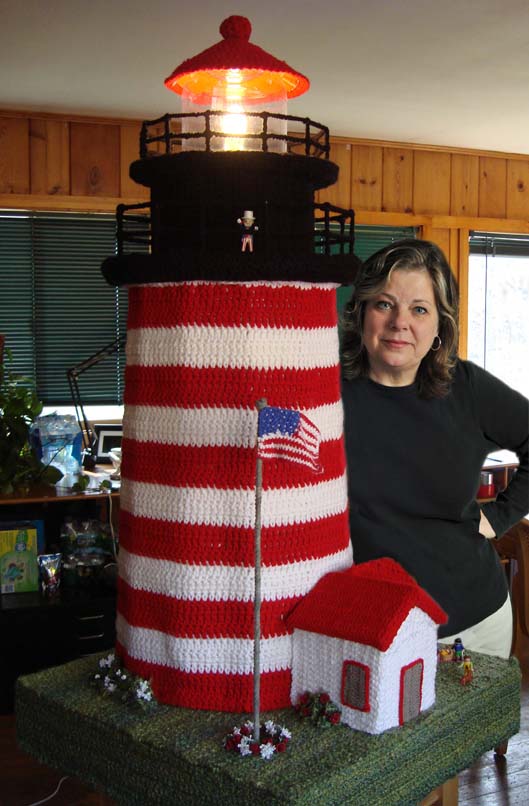
The Cap was relatively simple to crochet, and glued to an orange plastic backyard sports cone that happened to be just the right angle. It also happened to make a nice bright glow in the reflected light. If you don’t happen to have one of these lying around, you can cut a circle in a piece of cardboard that is flexible like a manila folder, cut a small hole in the center, make a cut to an outer edge, and overlap it til it forms the desired cone angle.
The Flag. A patriotic relative lovingly crocheted a tiny American flag, complete with 50 stars. We put a Playmobil Uncle Sam up on the railing.
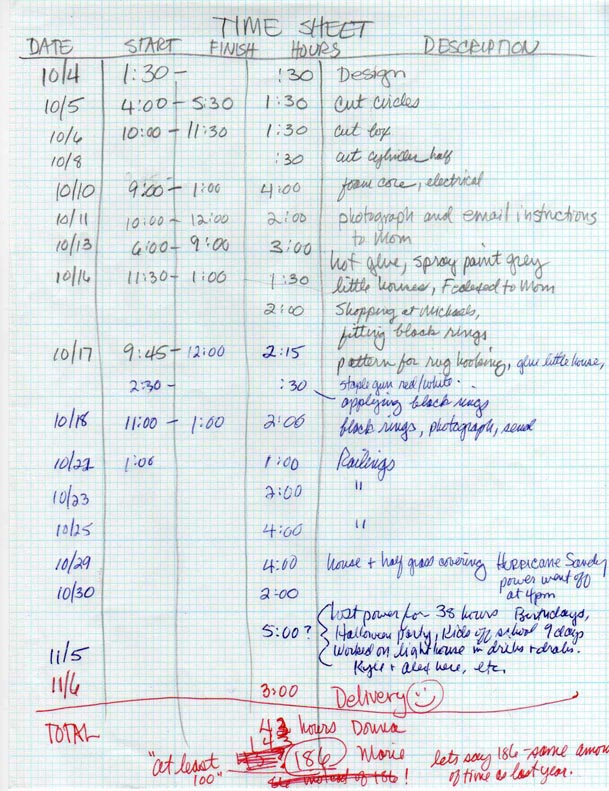
Time and Money: When you’re doing a fun art project that lasts more than an afternoon, it’s a good idea to record your time and expenses. People will ask you about these totals later. Here’s my simple time sheet for this project. Interesting note–As noted in my time sheet, Hurricane Sandy hit on October 29, 2012. We lost power for only a day and a half, but others lost it for much longer. Once again, progress ground to a halt. We hosted refugees, the kids were out of school for 9 days, and again, Halloween was postponed for 5 days! If you read my Blog #1, you’ll notice a disturbing pattern here.
So, Was it Worth it? The cost involved for this project was approx. $290. The man-hours, 186 hours. And it came in 6th place in the Maritime Aquarium’s Festival of Lighthouses, which netted us $150. The value of working on a fun art project with Grandma? Priceless!
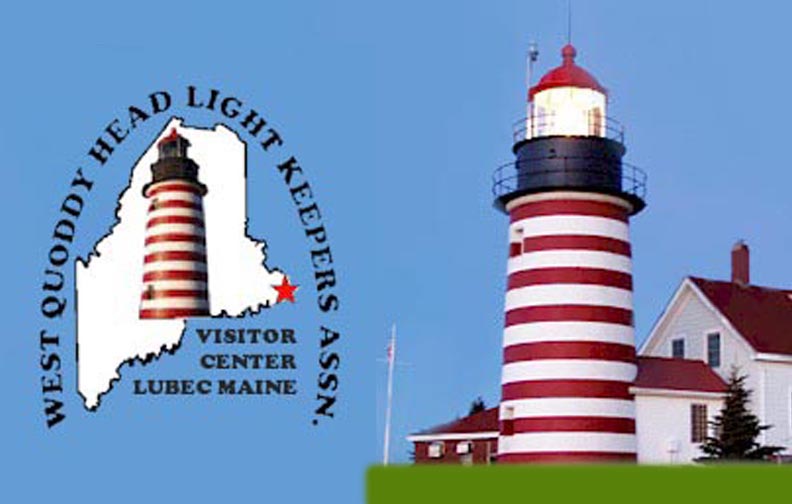
The Real Thing: Here’s a picture of the real West Quoddy Head Lighthouse. Sitting on the easternmost point of the United States, it earned the moniker “The Beginning of America”.
That has to be the nearest thing I have seen and so want to do it!!! Been to the real one and I live lighthouses!!!
Hey thanks! I’d love to visit the West Quoddy Head lighthouse in Maine sometime–maybe I can sell this one to them, whadya think?